Decred Full Node on Digital Ocean
Full nodes are the backbone of Decred. By validating and broadcasting transactions without relying on third parties they help keep the network decentralized. Each full node added to the network adds to its security and robustness.

Why run a full node?
“Full nodes are the backbone of Decred. By validating and broadcasting transactions without relying on third parties they help keep the network decentralized. Each full node added to the network adds to its security and robustness.”
https://docs.decred.org/advanced/full-node/
Benefits of a cloud based full node
There are several great tutorials out there for running a private home Decred full node but there aren’t any for cloud based ones.
The benefit of running in the cloud is you don’t have to worry about securing your home network and risking any private data. If someone gets in, you just nuke the droplet. Simple as that.
First things first
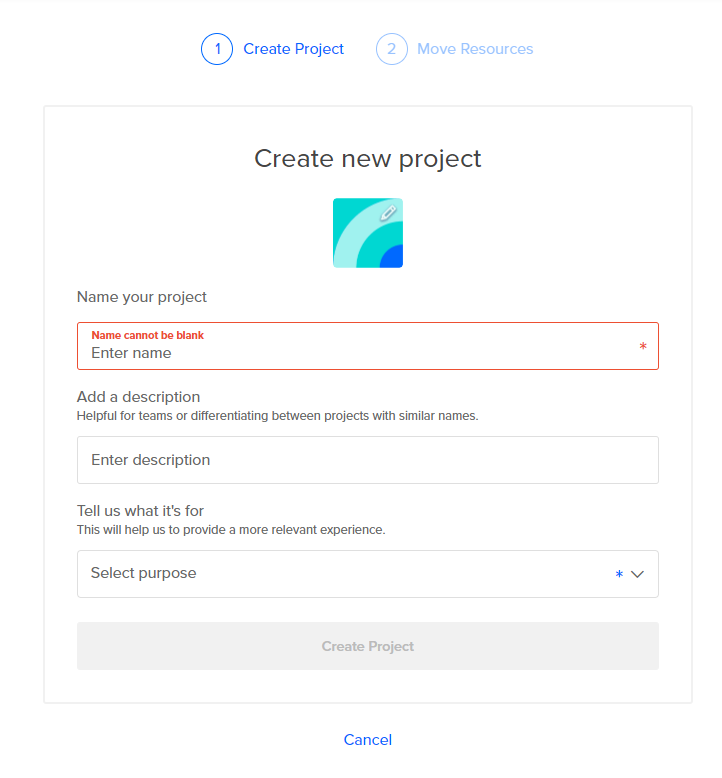
You’ll need to create a digital ocean account, attach a payment method and create a project. A project is required to attach your droplet to.
Droplet creation
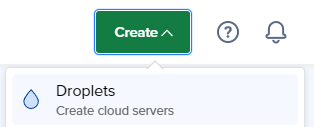
Now that you’ve logged in and created a project to attach this droplet to look in the upper right corner click the green “Create” button and then select “Droplets”
Cloud server specs
From there you’ll land on a screen where you customize your droplet’s docker image and specs
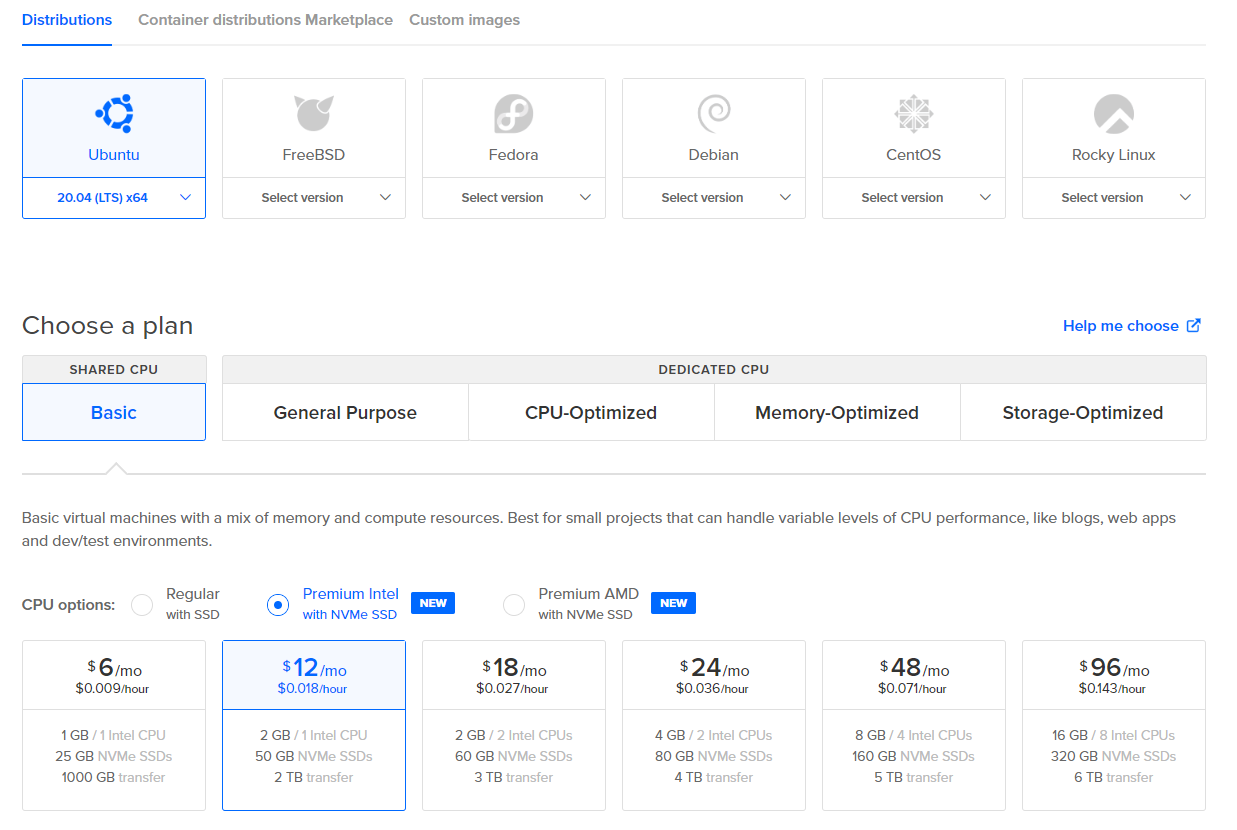
I went with Ubuntu as my image but it won’t really matter since this tutorial will be through the command line. I highly recommend choosing a plan with 2gb of ram otherwise your machine will run out of ram while sync’ing the chain.
Datacenter Region
After you’ve chosen your plan you can chose which data center region you want to go with. This part doesn’t really matter unless you’re a big fan of one region over another.

Authentication
Lastly you’ll choose how you want to login to your droplet. If you’re more tech savvy you can choose to use SSH keys to login otherwise using a password will be easier for most.

Additional options
Last but not least you should enable the “Monitoring” option which is free to enable. Once configured this will enable you to get email alerts if your node needs to be restarted. I’ll have a section about this at the end.
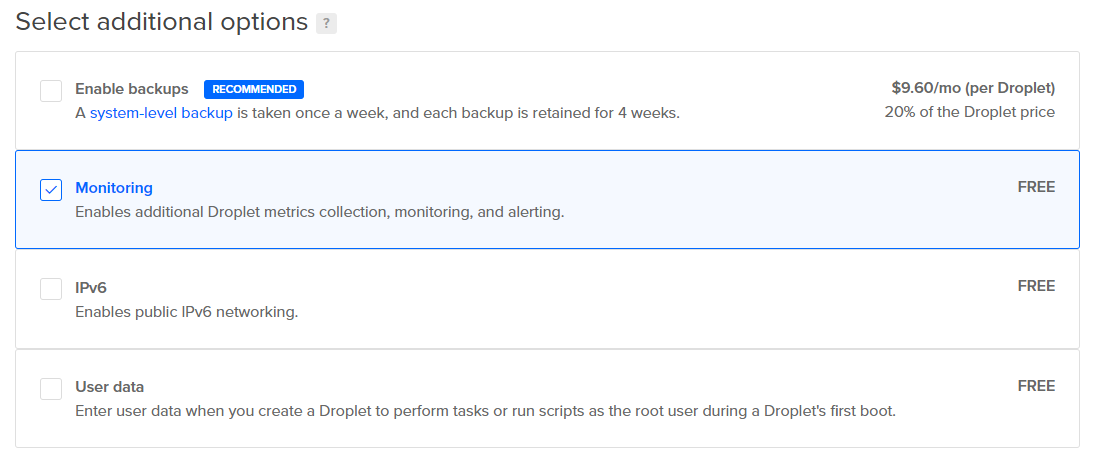
Now that we’ve got all that configuration out of the way click that beautiful big green dil — I mean button!

Installing DCRD (getting your full node running)
Login to your droplet
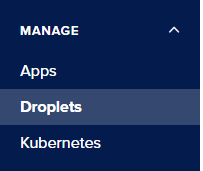
On the left side nav select “Droplets” and click into the droplet you just created

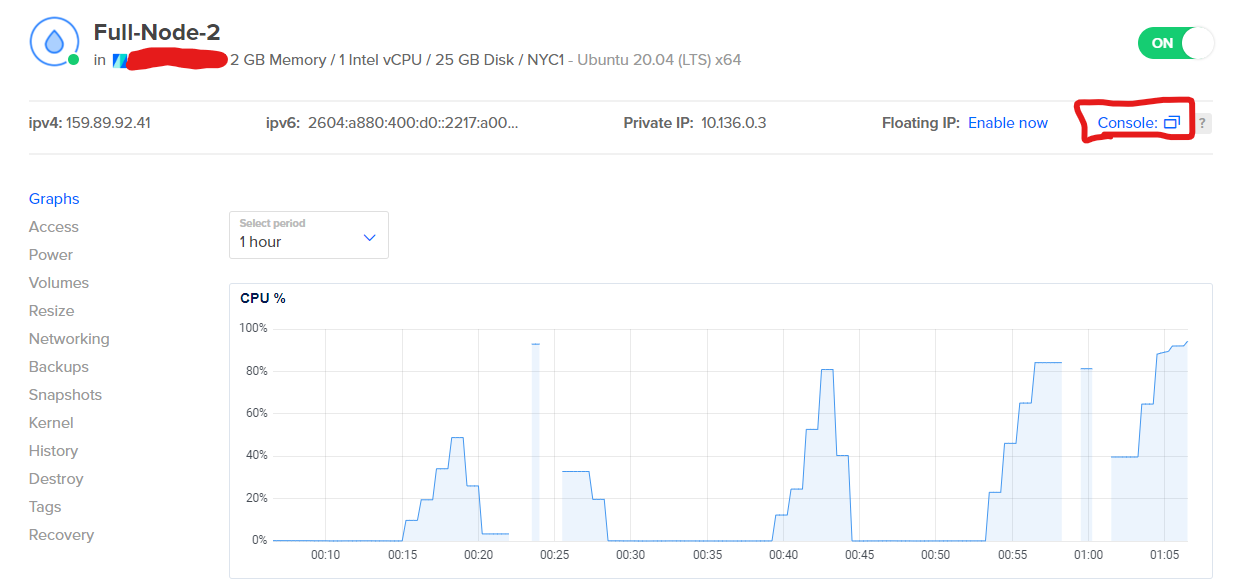
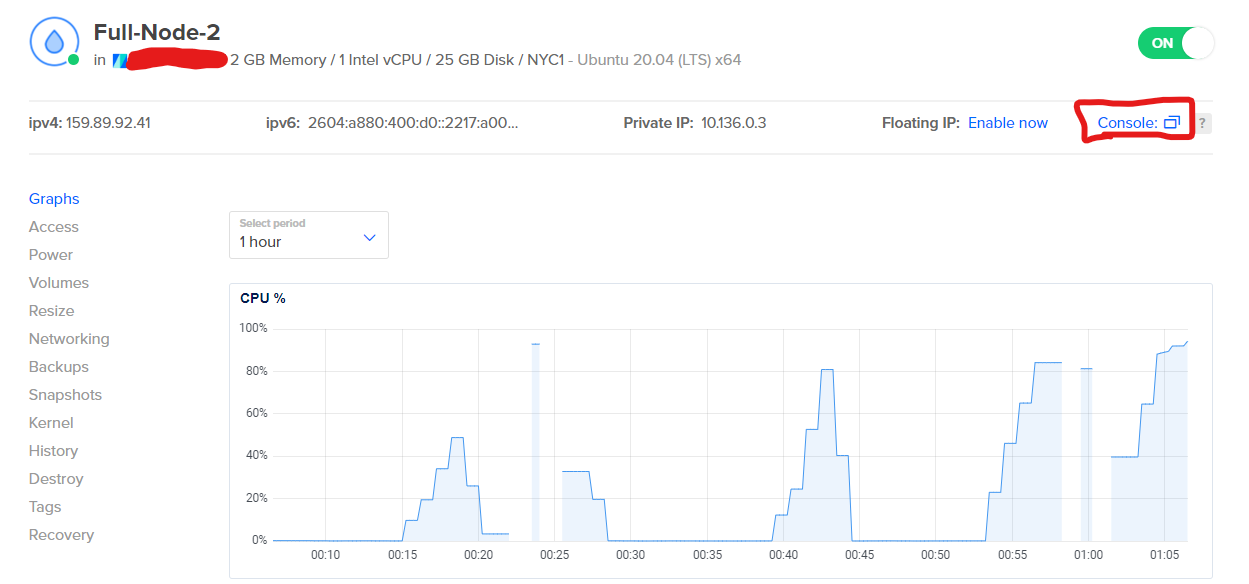
Once you’ve opened it click “Console” in the upper right corner
This will open up a virtual terminal to log you in as a super user into your droplet.
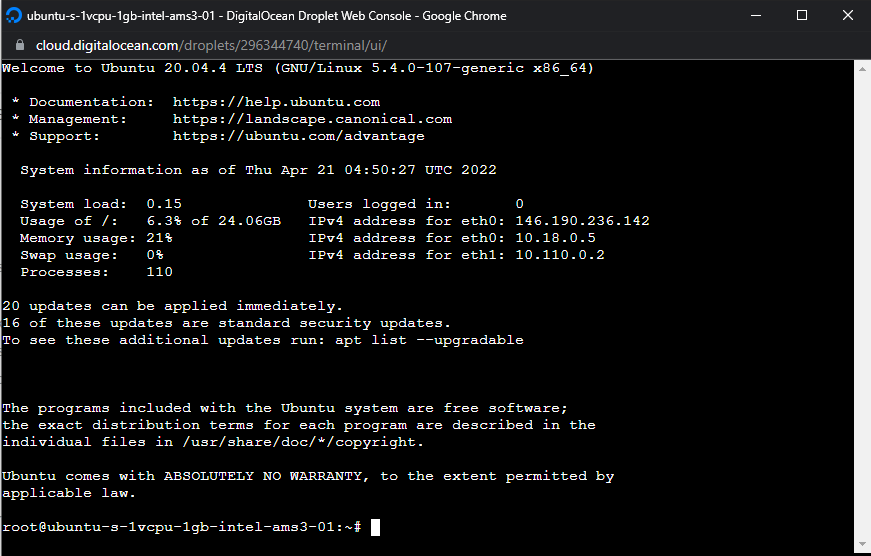
You’ll first need to download a preliminary tool that will allow us to keep our node running after we close the window. That tool is called tmux.
In the command line run this command to install it.
apt install tmux
Next we’re going to download the latest version of dcrinstall which includes dcrd.
Run this command in the terminal now.
wget https://github.com/decred/decred-release/releases/download/v1.7.1/dcrinstall-linux-amd64-v1.7.1
After you run it it should spit out a bunch of download status stuff. You can verify that it’s there if you type the command “ls” and it shows “dcrinstall-linux-amd64-v1.7.1” in the list
Installing
Next run this command
chmod u+x dcrinstall-linux-amd64-v1.7.1
After that run this command
./dcrinstall-linux-amd64-v1.7.1
It should spit out a bunch of installation and download status messages.
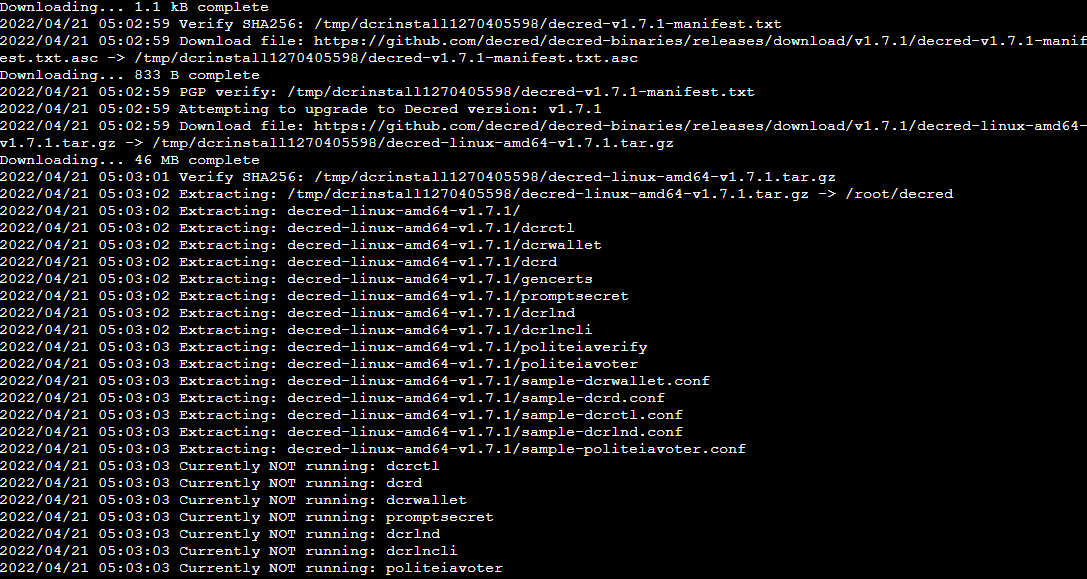
At the end it will ask you to setup a new wallet with a passphrase. You can just type in any junk here because you won’t be using this to store your actual Decred. For the next questions also type “no” and continue through as this tutorial isn’t intended to secure your actual DCR, this is just to support the Decred blockchain.

Now that we’re through that installation we’re almost ready to start sync’ing the blockchain.
Execute this command to enter into the newly installed Decred CLI tools.
cd decred
It is*IMPORTANT* run this command before moving on. Runing tmux allows us to run the node in a way where it will stay alive even after we close this terminal.
tmux
You’ll now be in a tmux terminal. You’ll know you’re in it because you’ll see a green bar at the bottom of your terminal window now.
Now that that’s out of the way we’re ready to finally start up DCRD (the full node). Run “./dcrd”
./dcrd
After a minute you should see blocks being downloaded and a progress % status update in your terminal.

This will be the most annoying part of this tutorial as you’ll need to wait for the chain to fully download.
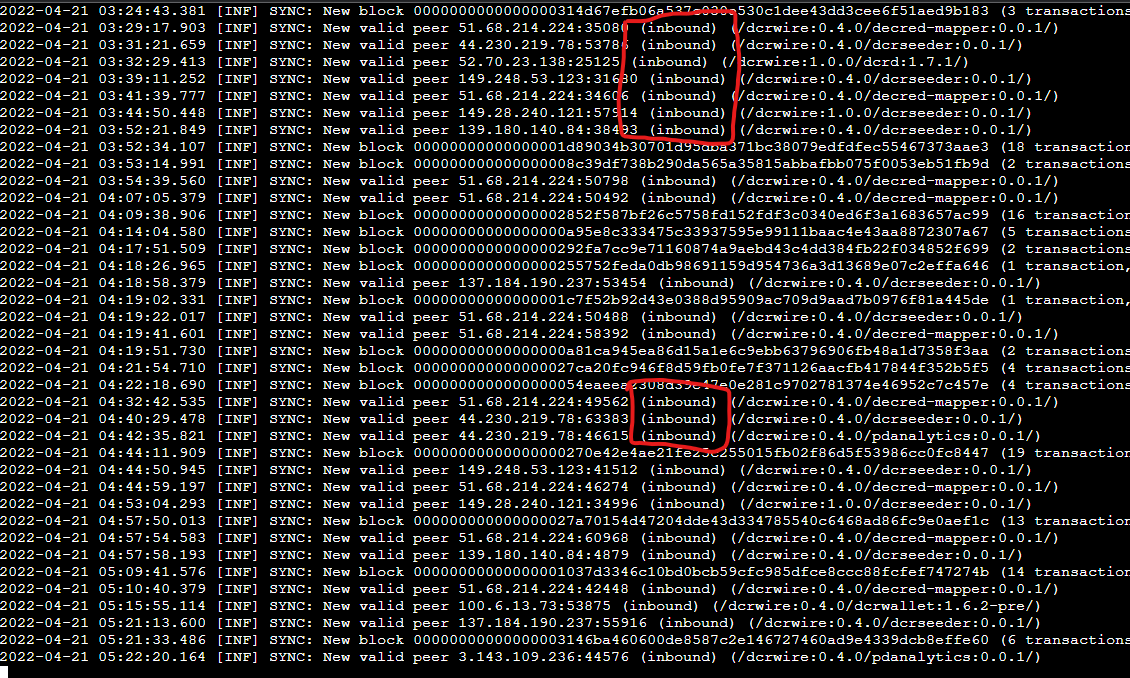
Once it finishes the sync you’ll begin to see connections to peers on the Decred network. You’ll first only see “(outbound)” connections until your node has run long enough to be accepted as a reliable node. Once you’re tenured (usually a few days) you’ll begin to see “(inbound)” connections.
Can I close this window even if I’m not done sync’ing?
Unfortunately you cannot but you have to leave before it finishes just come back to the terminal and restart dcrd by typing “cd decred” and then “./dcrd” which will pick your progress back up from when you stopped.
cd decred
./dcrd
I’ve sync’d and it’s running, can I close the window and will it keep running?
Yes, just close the window and if you want to come back to see it running just run “tmux attach -t 0”
tmux attach -t 0
Here is some documentation on more advanced tmux commands
https://linuxize.com/post/getting-started-with-tmux/#detaching-from-tmux-session
Congrats! If you’ve made it this far you have a full node or close to it and are further supporting the Decred network!🎈
Monitoring
There is a small chance that your node might get killed off but thankfully we can use monitoring to alert us when that happens. Click “Monitoring” in the left side nav.
Now click the blue “Create Resource Alert” button on the right side.

Next configure the parameters of the alert. We’ll choose the following parameters: CPU is below 0.50 for 1 hour

After that you’ll type in the name of your droplet for this alert to be attached to

Last but not least make sure you add your email so you’ll get emailed the alert that your node is down.

Then click “Create resource alert” and you’re set!


Comments ()